1.1 Capacity Needs and Dimension Restrictions
The intensity, feed rates, of sediment transport experiments being run largely determine the capacity and therefore size of a needed sediment trap. In this case a sediment trap is necessary because the sediment is not being recirculated within the flume. We require a very large sediment trap in order to run a 20kg/min feed rate of sand to capture data for a duration of an hour. The sediment must be dry upon its delivery into the experimental flume by a volumetric feeder as well. Thus the sediment must be captured into the trap, removed and dried, and delivered into the feeder as a cycle. Drying sediment however is a very slow process depending on grain size and sediment type, sands, fines and gravels, which cannot be done efficiently within the sediment trap. This means, as stated before, that the sediment must be removed. Due to the need for removal of the sediment it is important to take into account workable space. The sediment trap needs to be large enough to handle the volume of sediment and water coming into it, but not so large that there leaves no space around it to remove the sediment, which also depends on how much space you have beneath or around your experimental flume.
1.2 Strength Design With Lumber
1.3 Inlet, Outlet, and Weir Design
1.4 Construction Methods
Depending on your capacity needs, your sediment trap may vary in size compared to ours however there are some general steps in building the trap that can be relatable. The first step being that the trap should be 'dry built' in an easy to work area. The trap will be built twice, first as a 'dry build' and then as a 'wet build'. The 'dry build' consists of cutting all the lumber to the correct dimensions, making pilot holes for where screws will be put, assembling the cut lumber and drilling all the screws into their holes thus building the trap. Once this is done you should inspect the trap for any errors that could be due to warping of the wood, construction fault, design fault, etc.
Upon the completion of the inspection and with all errors corrected then the 'wet build' can be done. The 'wet build' can be done either where the trap will permanently be or at a convenient location where the completed trap can be moved safely into place, without a risk of breaking the trap. The only difference between the 'dry build' and the 'wet build' is the use of silicone sealant and a polyurethane coating to make the trap water tight hence the name.
In the design phase it was mentioned that the traps walls will be butted up with the base portion and drilled into the side of the base with a collinear, triangular, screw pattern. The wall and base are assembled together this way to maximize area of sealant that can be put into the joint and to minimize the amount of screws necessary to supply consistent pressure on the sealant, ultimately to keep the joint water tight. This method will be done for all four sides of the base and the walls connecting to it.
When laying the silicone sealant ,prior to compressing the joint by screwing it into place, a zigzag pattern overlapped with straight lines works well to fill the voids between the wall and the base's side. Do not be afraid to over use the silicone. Too much silicone never let more water leak, and it's better to over seal than under seal the joint.
Once the walls have been drilled in sandwiching the silicone sealant, wait till the silicone sets to paint the inside surface area of the trap with polyurethane. When painting the trap, three coats/layers of polyurethane was found to be a reasonable amount to seal the surface of the plywood. The polyurethane takes a few hours to dry/harden between coats at a time so after the three have been applied allow the trap to sit overnight to fully cure.
The trap is now basically completed but as a measure to ensure quality work, we filled the trap completely with water and checked for any leaks. If there are leaks, apply additional silicone where necessary, allow it to set, and test for leaks again. Repeat this process until the trap is leak proof or leaks an acceptable amount to you.
At this point the trap should be sloped from inlet to outlet however much you desire. This can be done by cutting slats of wood out to specific thicknesses, staggered in size from the high end at the inlet down to the outlet which will sit on the floor with no slat. One end of the trap could be raise but this could cause bending of the trap so staggered slats are a solution to supporting the trap throughout its slope.
Finally with the slope set the trap can be connected to the inlet and outlet pipes, after the correct diameter holes for the pipes are cut out, aligned in their position with the trap's walls. A bead of silicone on both sides of where the pipes enter the trap will be enough to seal the holes. Place the constructed weir into the trap and seal around where it meets the side walls and base, thus the trap is finished.
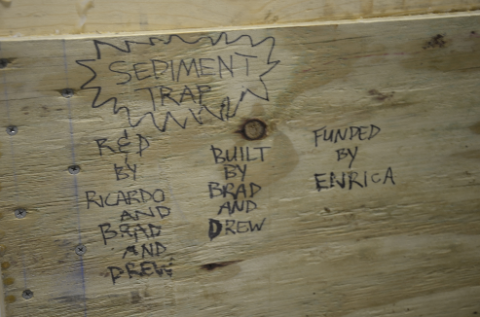
Don't forget to write your name onto the trap after all that hard work, but do give credit to who paid for it!